These are the first steps in picdrop:
- Gallery overview
- Create your first gallery
- Upload files
- Gallery Settings
- Send your gallery
If you’ve already mastered these steps, you may continue with “picdrop for Advanced Users“.
Gallery Overview
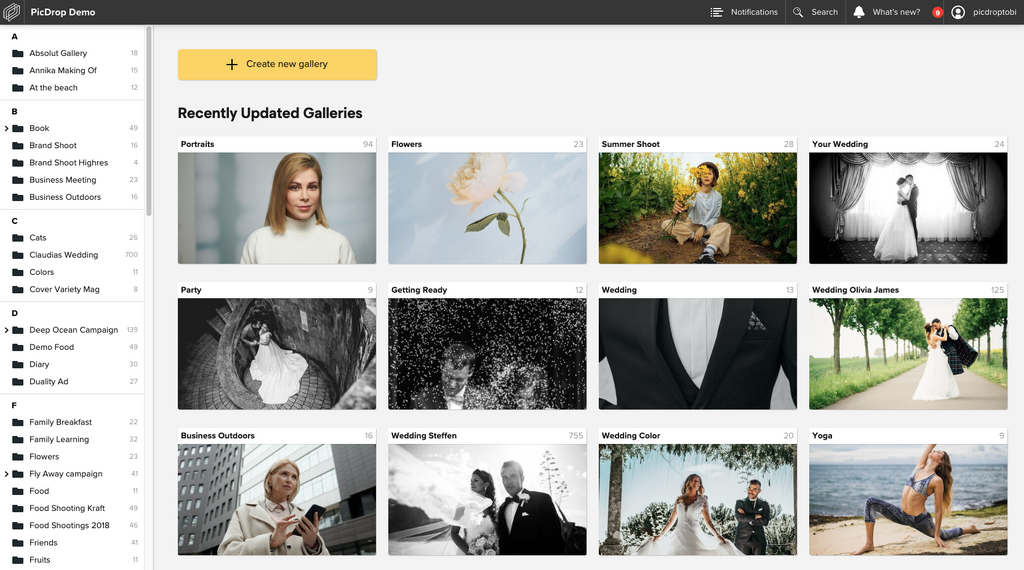
After the free registration, you will land in your empty gallery overview. Here you will later see all your galleries from A to Z, as you know it from your computer. On the right side, you will always find the last used or modified galleries. This gives you direct access to your current projects. Once you have created a few galleries, it will eventually look like this:
Create your first gallery
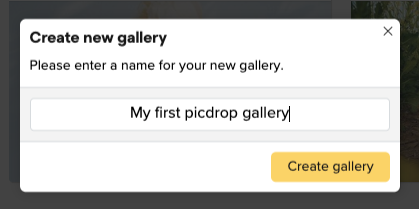
Click on “create new gallery”. Then you can decide the gallery name and confirm. You will end up directly in the gallery. You can change the name of the gallery at any time.
Upload files
To upload files to your first gallery, it is sufficient to load them into the browser window with the gallery open and simply drag & drop. The upload will start automatically. Alternatively, you can also click on the green upload button and then select the files on your hard drive. Incidentally, the speed and duration of your upload are limited only by the upload speed of your Internet connection.
As an alternative to browser upload, you can also upload files directly from Lightroom. You will find more information later in the section “picdrop for Advanced Users“.
Your uploaded files are ready
picdrop automatically generates previews of yourfiles during your upload. This makes your files look good on all devices – whether on a PC or Mac, tablet or smartphone.
Gallery Settings
All clients are different. Therefore, you can tailor each gallery to exactly what your client may see and do. So you keep the control over your files and your workflow, not your client. These “Gallery Settings” can be found in each gallery at the top right.
The Gallery Settings are divided into four sections:
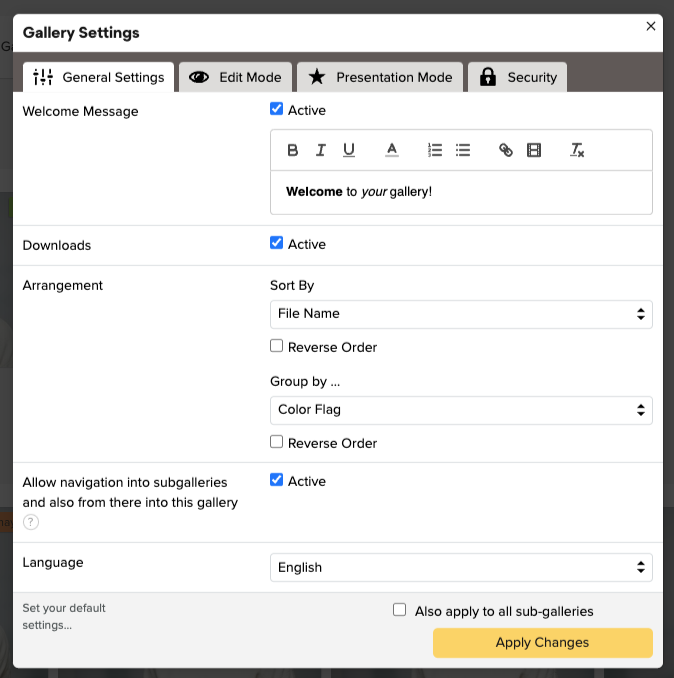
- General Settings: this is where all the general gallery settings are gathered, such as your welcome message for the gallery, whether downloads are allowed, and the navigation setting between gallery levels.
- Edit Mode: here you will find the different views and all the handy picdrop features like the color flags, comments and selections that your clients can use in the gallery’s edit mode. It pays to try everything here to understand the full scope of picdrop.
- Presentation Mode: With the presentation mode you can create especially beautiful galleries for your clients, which deliberately provide few functions. All functions for appearance and design can be found in this section.
- Security: The security of your files is important. Therefore, here you can protect the gallery with a password and watermarks. By the way, the external address prevents an unauthorized third party from guessing the link to your project or even trying it out. If you want to use a telling name for your URL this is also possible with editing the URL to your wished Custom Link. If you put a gallery on “private”, it will only be accessible to you.
You will find detailed information about each individual setting in our FAQ.
If you have everything set, you can save the settings by clicking on “Apply Changes”. To make sure that your client gets exactly the settings you expect, you can click on “Client View” in the top right corner. You will then see the galleries exactly as your client will see them later. Don’t forget to switch back to the admin view.
Send your gallery
Send the gallery to your client by simply sending the link! You will always find this link in the upper right corner of every gallery under “Share”.
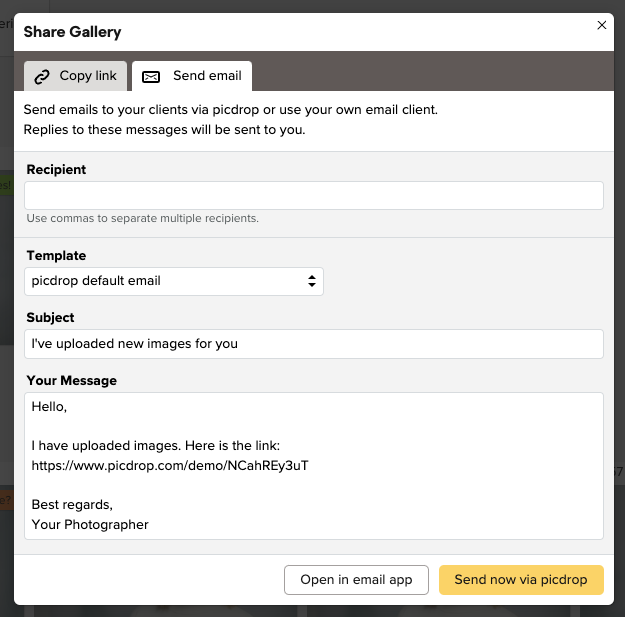
You can either send the link directly from picdrop or via your email app or chose to copy the link of the gallery and send it by Messenger, Whatsapp, Skype, Facebook, etc…
Done!
You’ve sent your first gallery! That was easy, right?
Of course, picdrop can do much more. Many tips and tricks can be found in the section “picdrop for Advanced Users“. And if you have any questions, feel free to contact us at any time. We look forward to helping you!