What are sets in picdrop used for?
The sets are the tool in picdrop that helps you and your clients to save a certain selection of files permanently in a gallery.
If several people are working in a gallery, each person can compile and save one or more sets of their own.
For a quick communication tool, where only one person in a gallery determines their favorites, we recommend using color flags.
How do I create a set?
Please follow these three steps:
01 – Open the gallery
First, make sure you are in a gallery in Collaboration Mode. Only there you can create a set. So your gallery should show a filter bar on the left side, like you see it here in the screenshot:
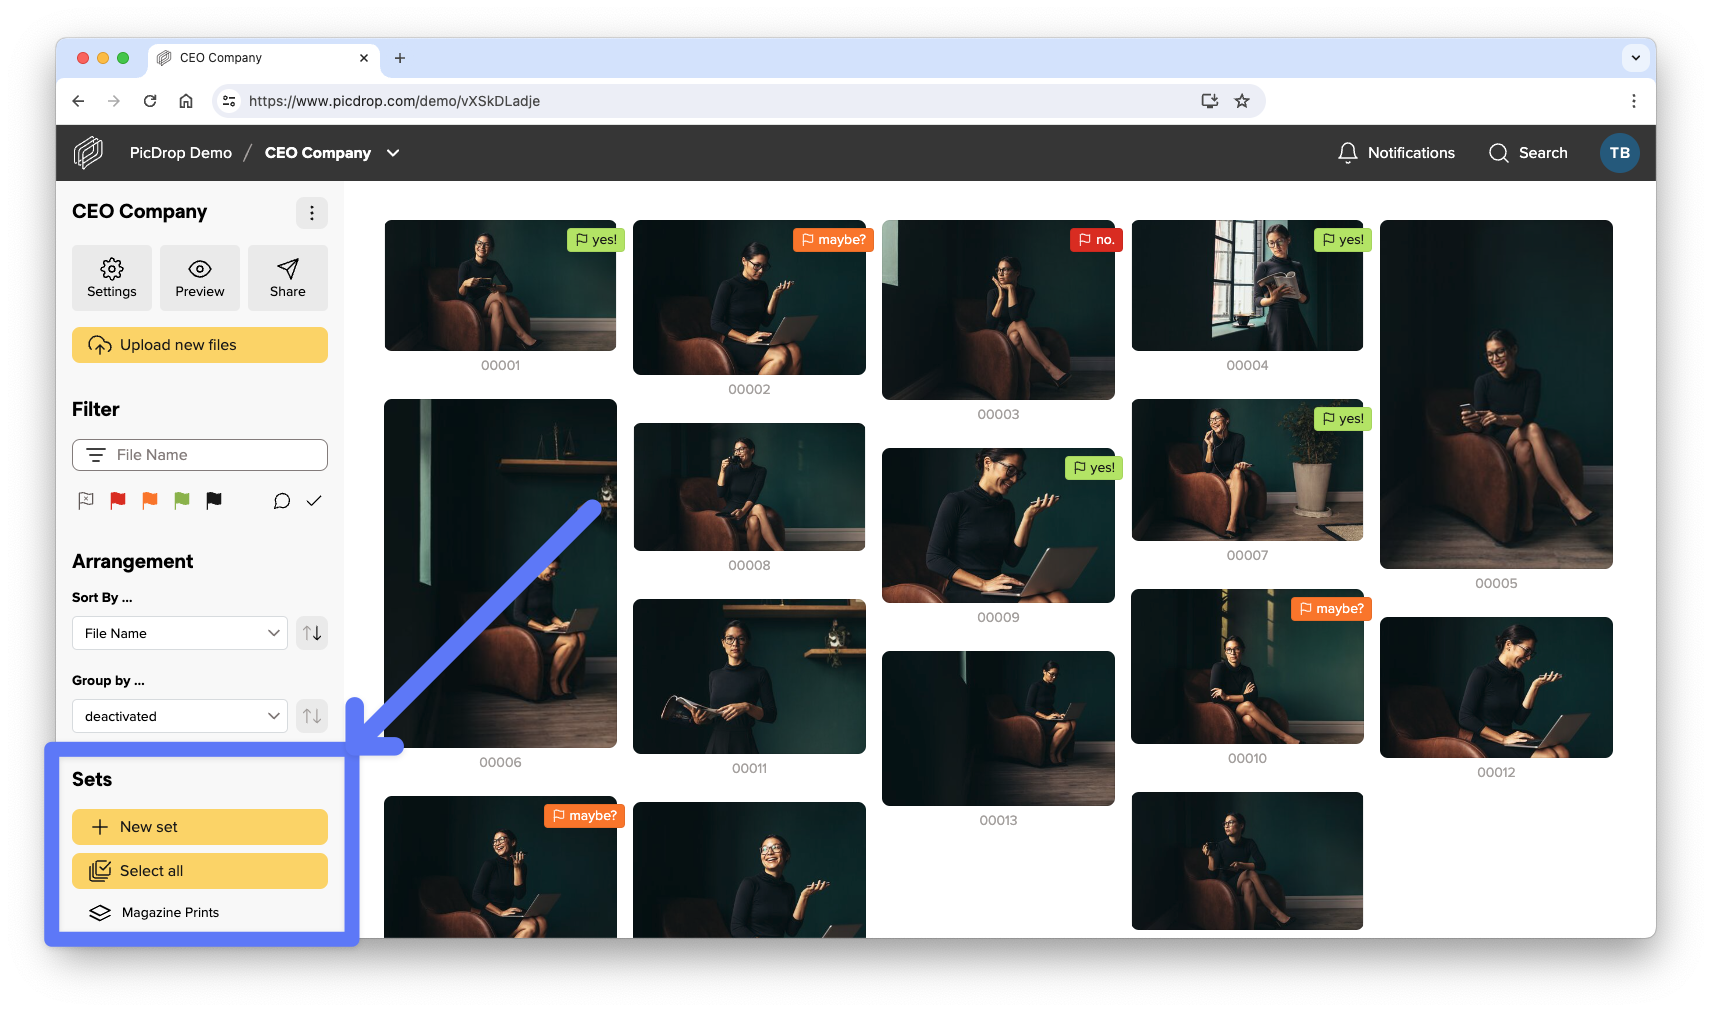
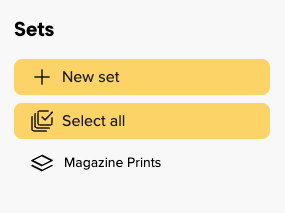
If you don’t see the filter bar, the gallery is probably in Presentation Mode and you have to switch to Collaboration Mode first. If only the button with the hint “Start new set” is missing, then the sets for this gallery are currently not activated.
02 – Select files
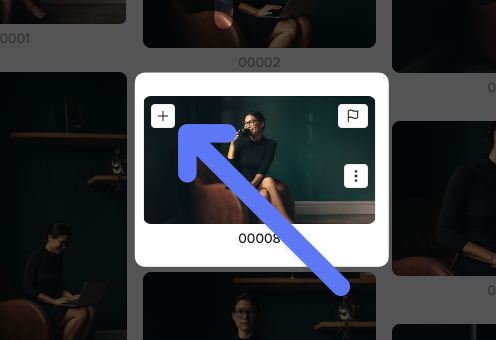
To start selecting files, click the “Start new set” button or simply click the blue plus sign at the top left of each file you want to select:
Alternatively, you can select multiple files at once. To do this, hold down the Shift key and click the left mouse button anywhere in Collaboration Mode to draw a blue selection frame. Each file within the frame will automatically be added to your set bar at the bottom. There you will also find information about how many images are currently in your set.
03 – Do not forget to save your set
When you have finished making your set, it is essential to save it. To do this, click on “Save set” at the bottom right of the gallery:

A box will then open for you to add a title, your name and your email address before you save & send your set:
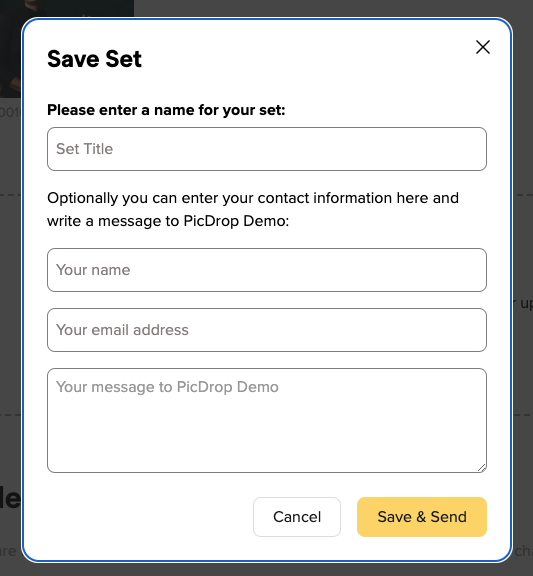
Please choose a unique title for the set. After saving, this title will be visible to all visitors of the gallery in the filter bar on the left.
Please also leave your name and email address so that the set can be clearly assigned. If you like, you can also add a message along with the set.
Finally click on “Save and send set”.
As a confirmation the account ownder will receive an e-mail from us with all information about the newly saved set.
Display, change & delete sets
In the left filter bar you can now display your set. By clicking on the blue bar with the name of the set, your selected files will be highlighted in the gallery. With a click on the eye icon, you can also view your set in isolation: all files that are not in the set will be hidden in the gallery.
To make changes to a set, you must first activate the set by clicking on its name. All images of the set are again marked with the blue checkmark in the gallery.
Then you can add new files or remove existing ones. Again, don’t forget to save the set in the bottom bar so that the changes are permanent.
You will be asked if you want to update the existing set or save the changed set with a new name.
To delete a set, just click on the trash icon in the left column, or on the same icon in the bottom bar when the set is displayed. Don’t worry about losing data: Only the person who manages the picdrop account can delete sets from a gallery.