Has your photographer asked you to create a set in your gallery?
The following step-by-step guide will explain how to create a set in picdrop.
How do I create a set?
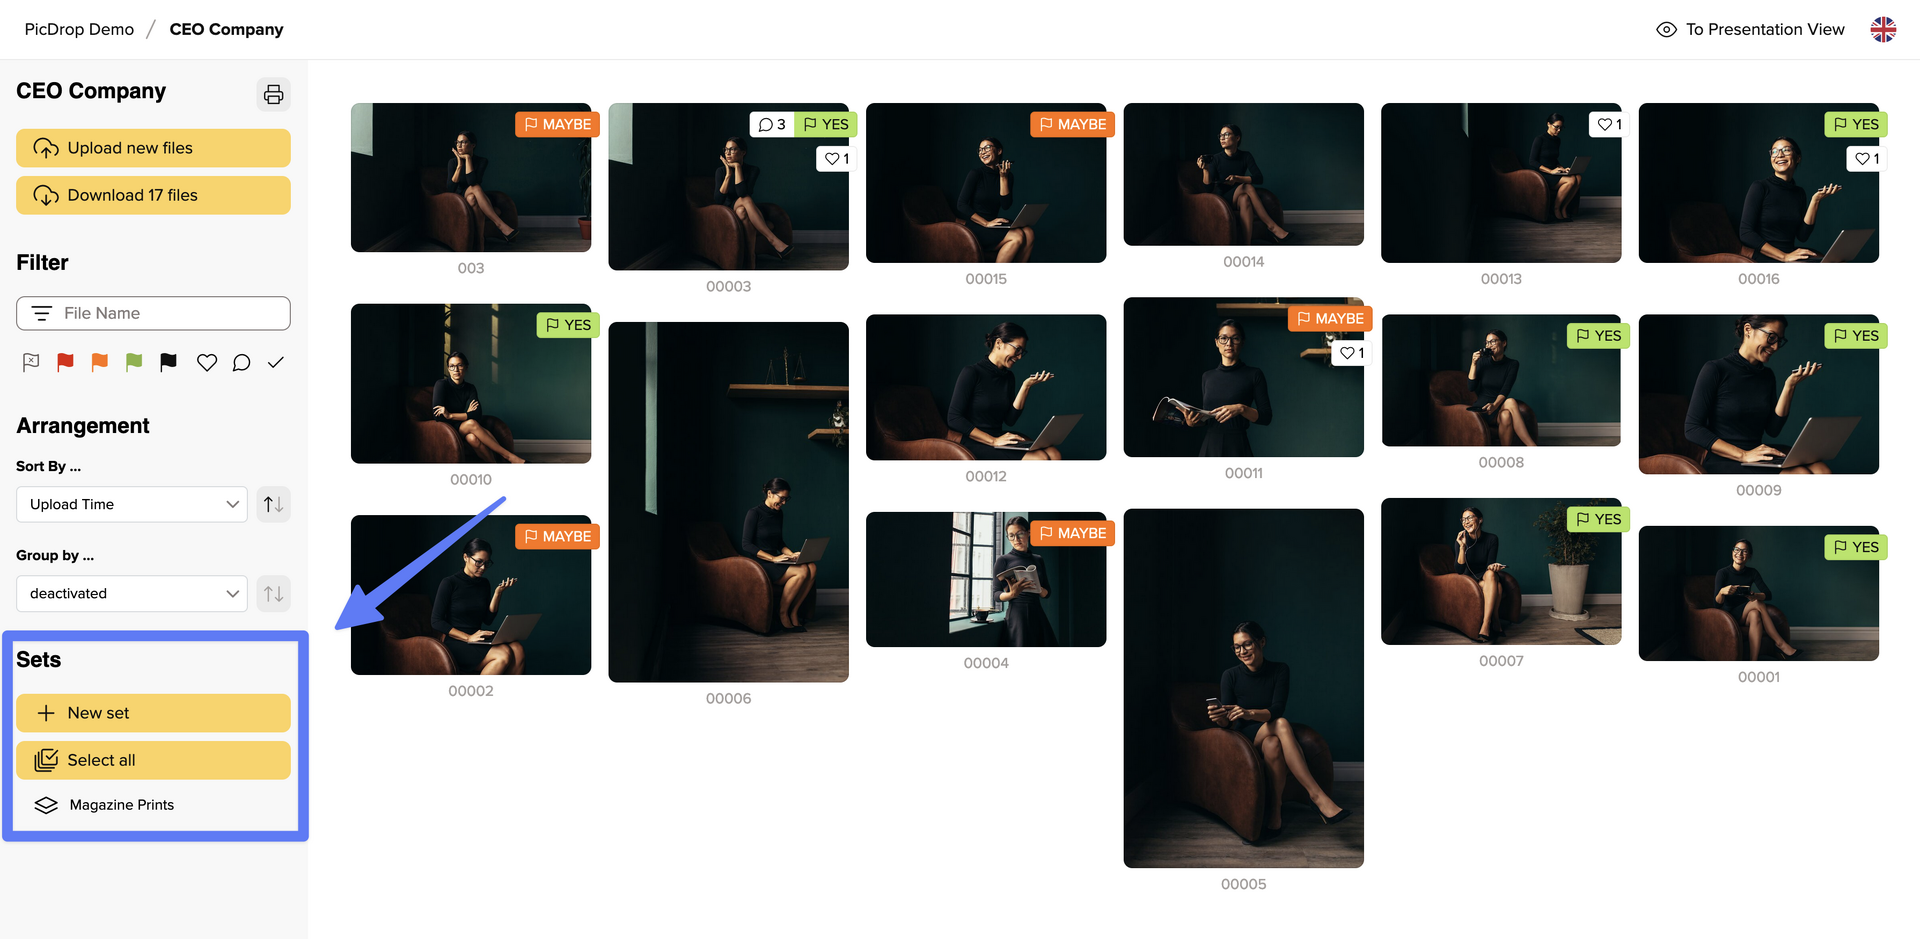
01 – Open gallery
Your gallery should look like the screenshot so that you can get started straight away.
If your gallery starts with a screen-filling header image, click on the “To Collaboration Mode” button to start with your selection.
02 – Select images
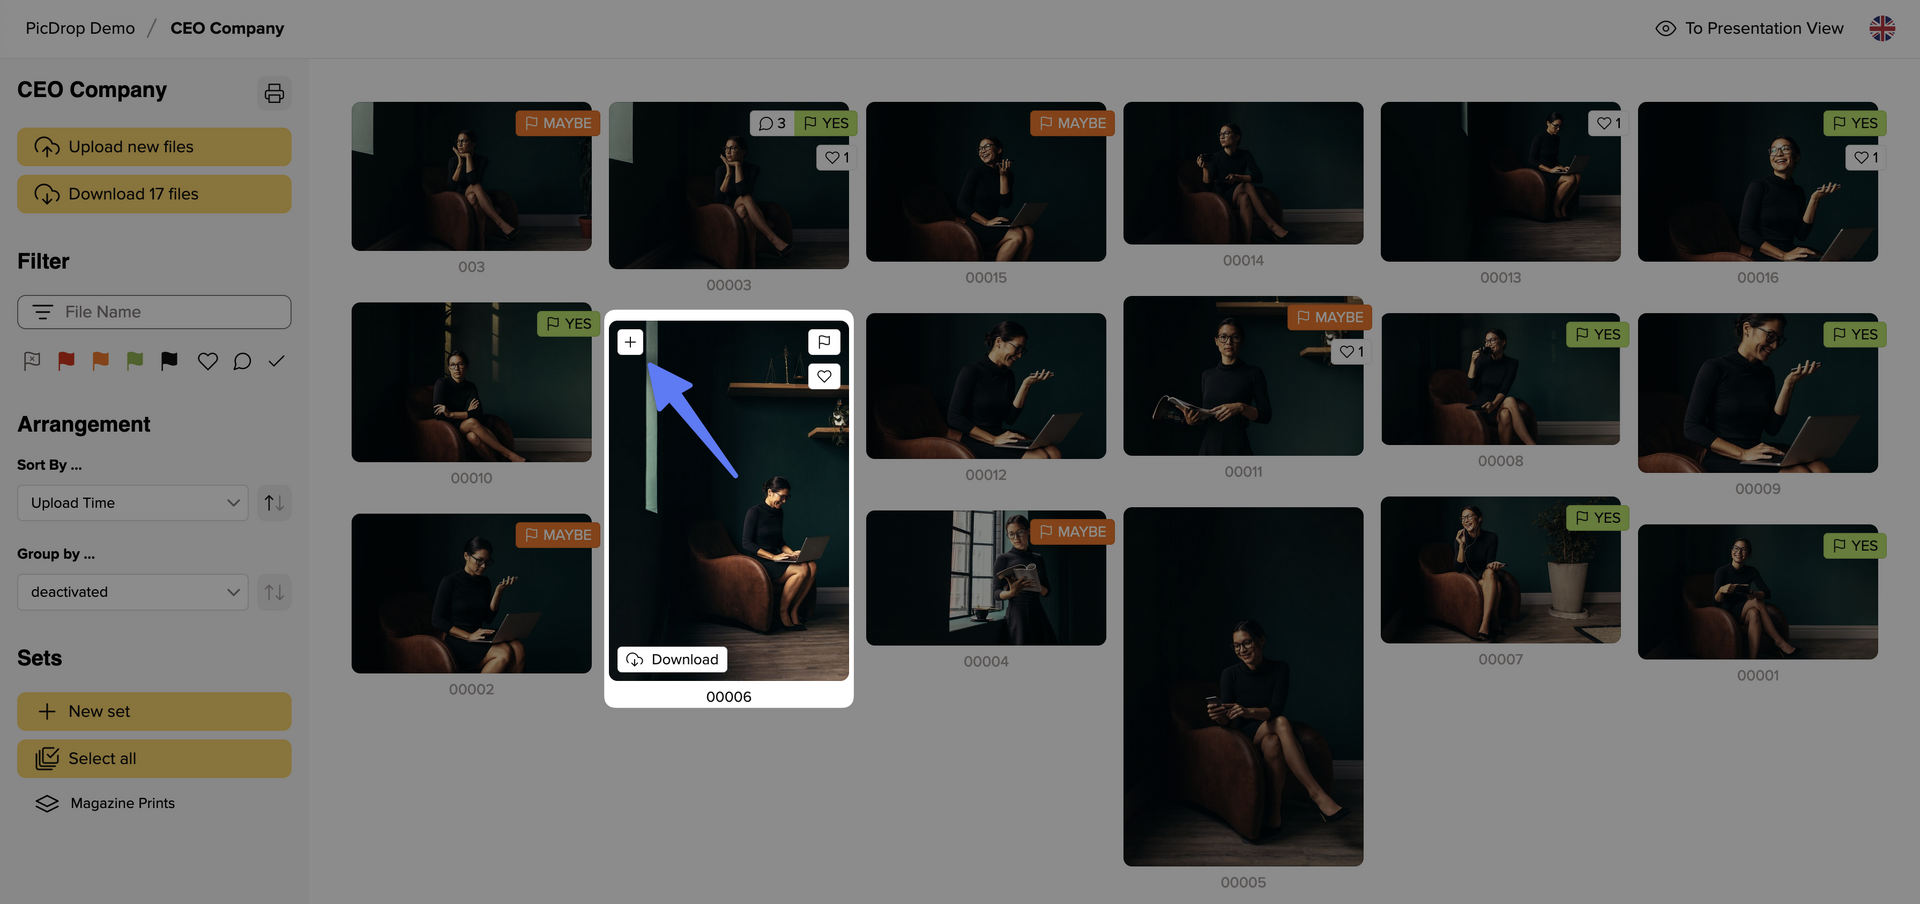
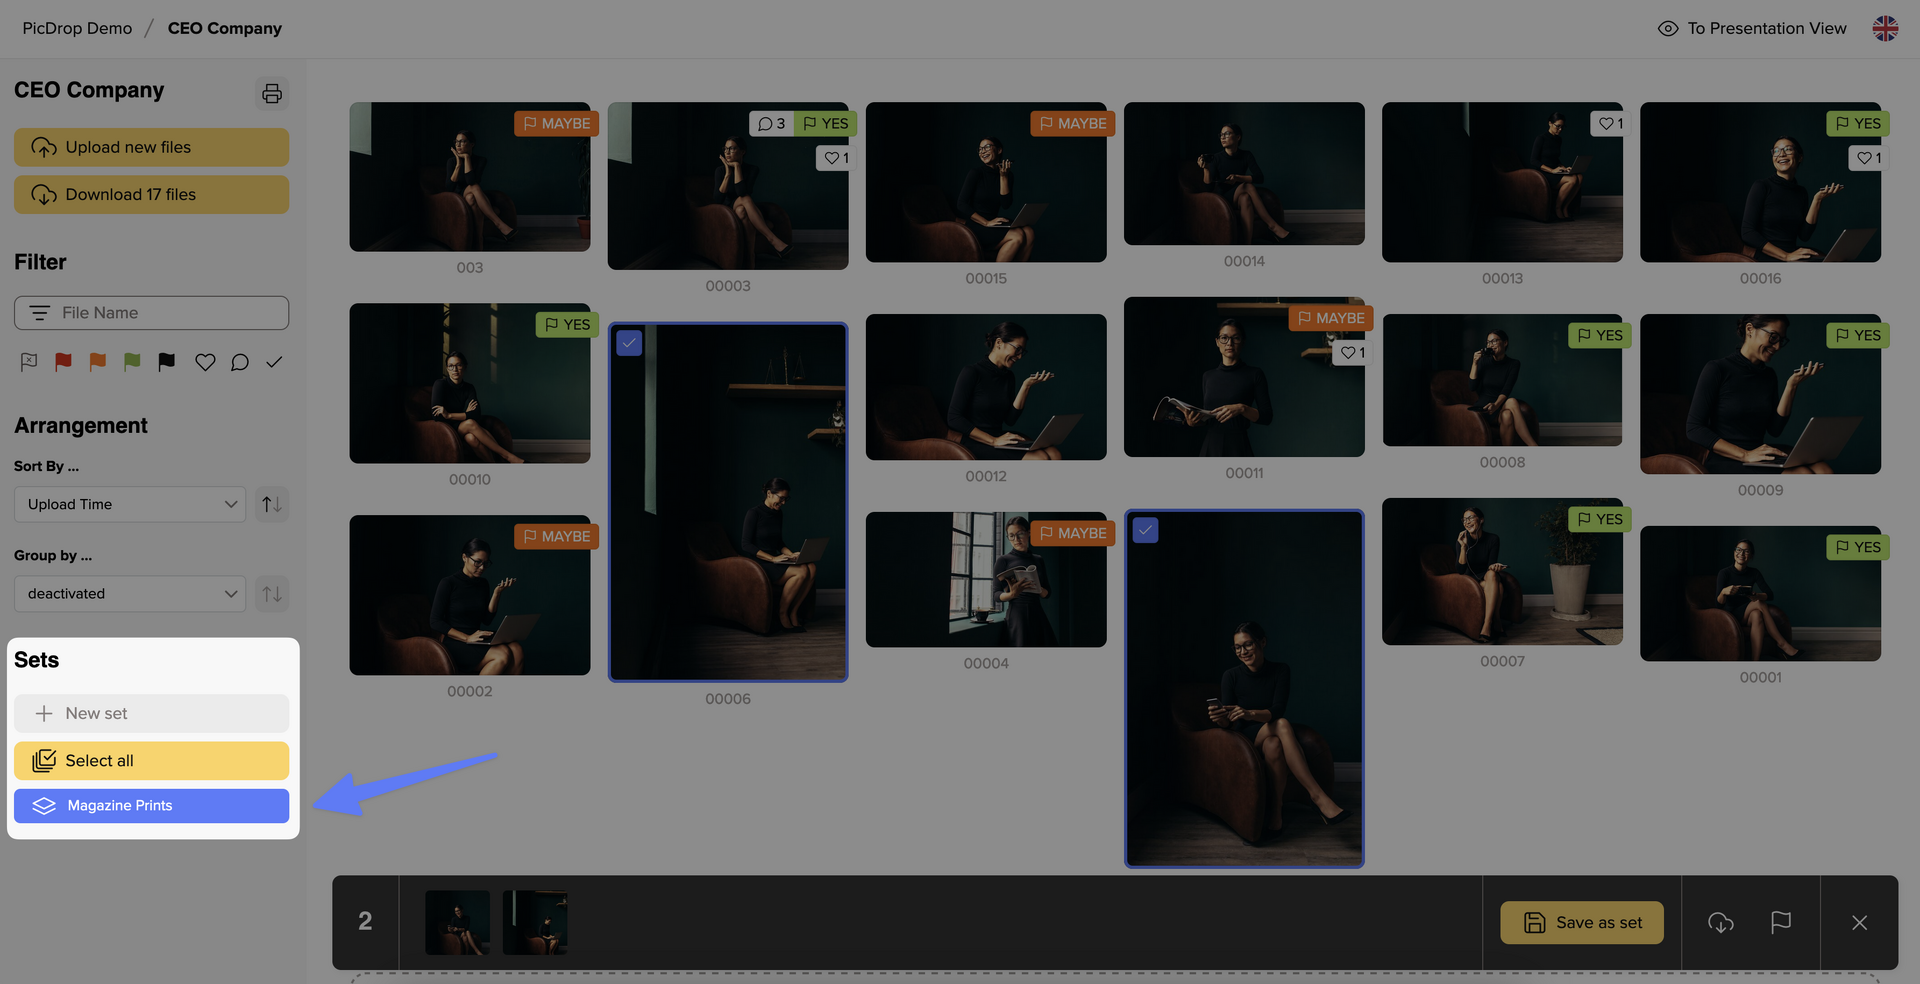
To start with the selection, click on the “New set” button in the sidebar on the left or simply click directly on the blue plus sign at the top left of each image.
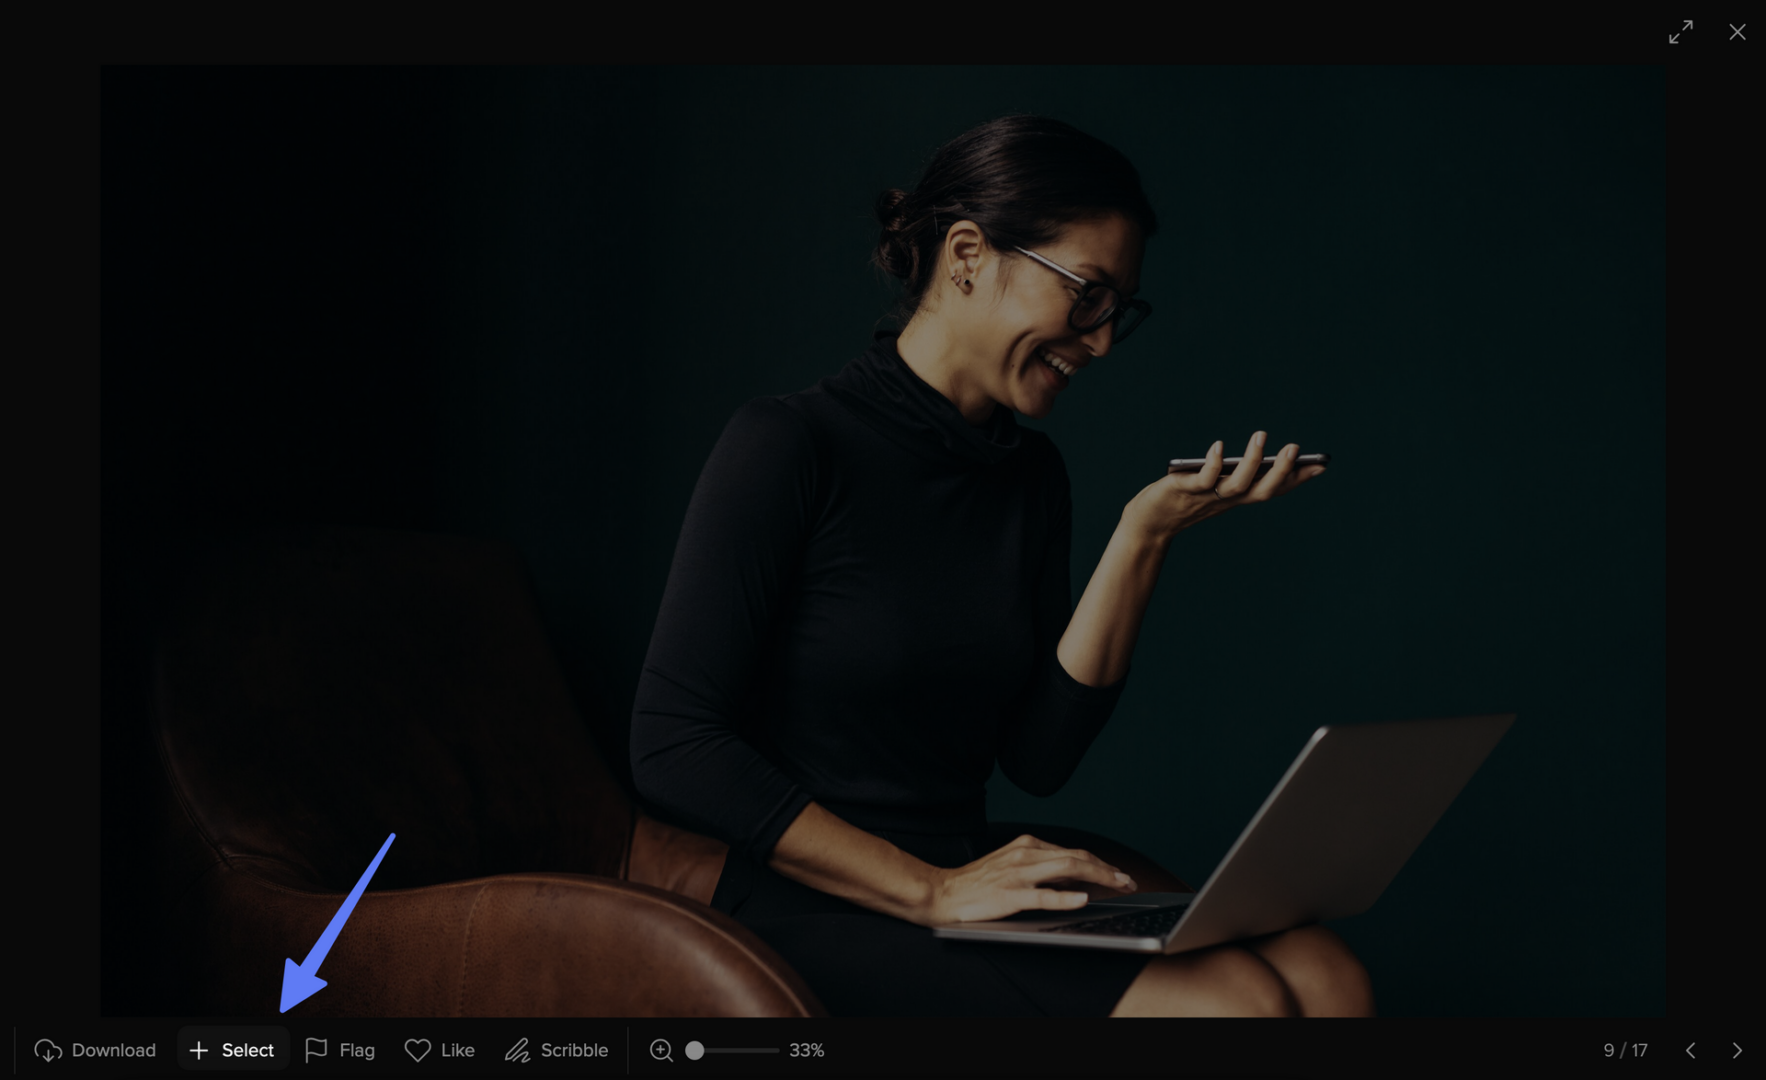
Alternatively, you can also click directly on the image to open the large single image view and select the image there by clicking on “+ Select”.
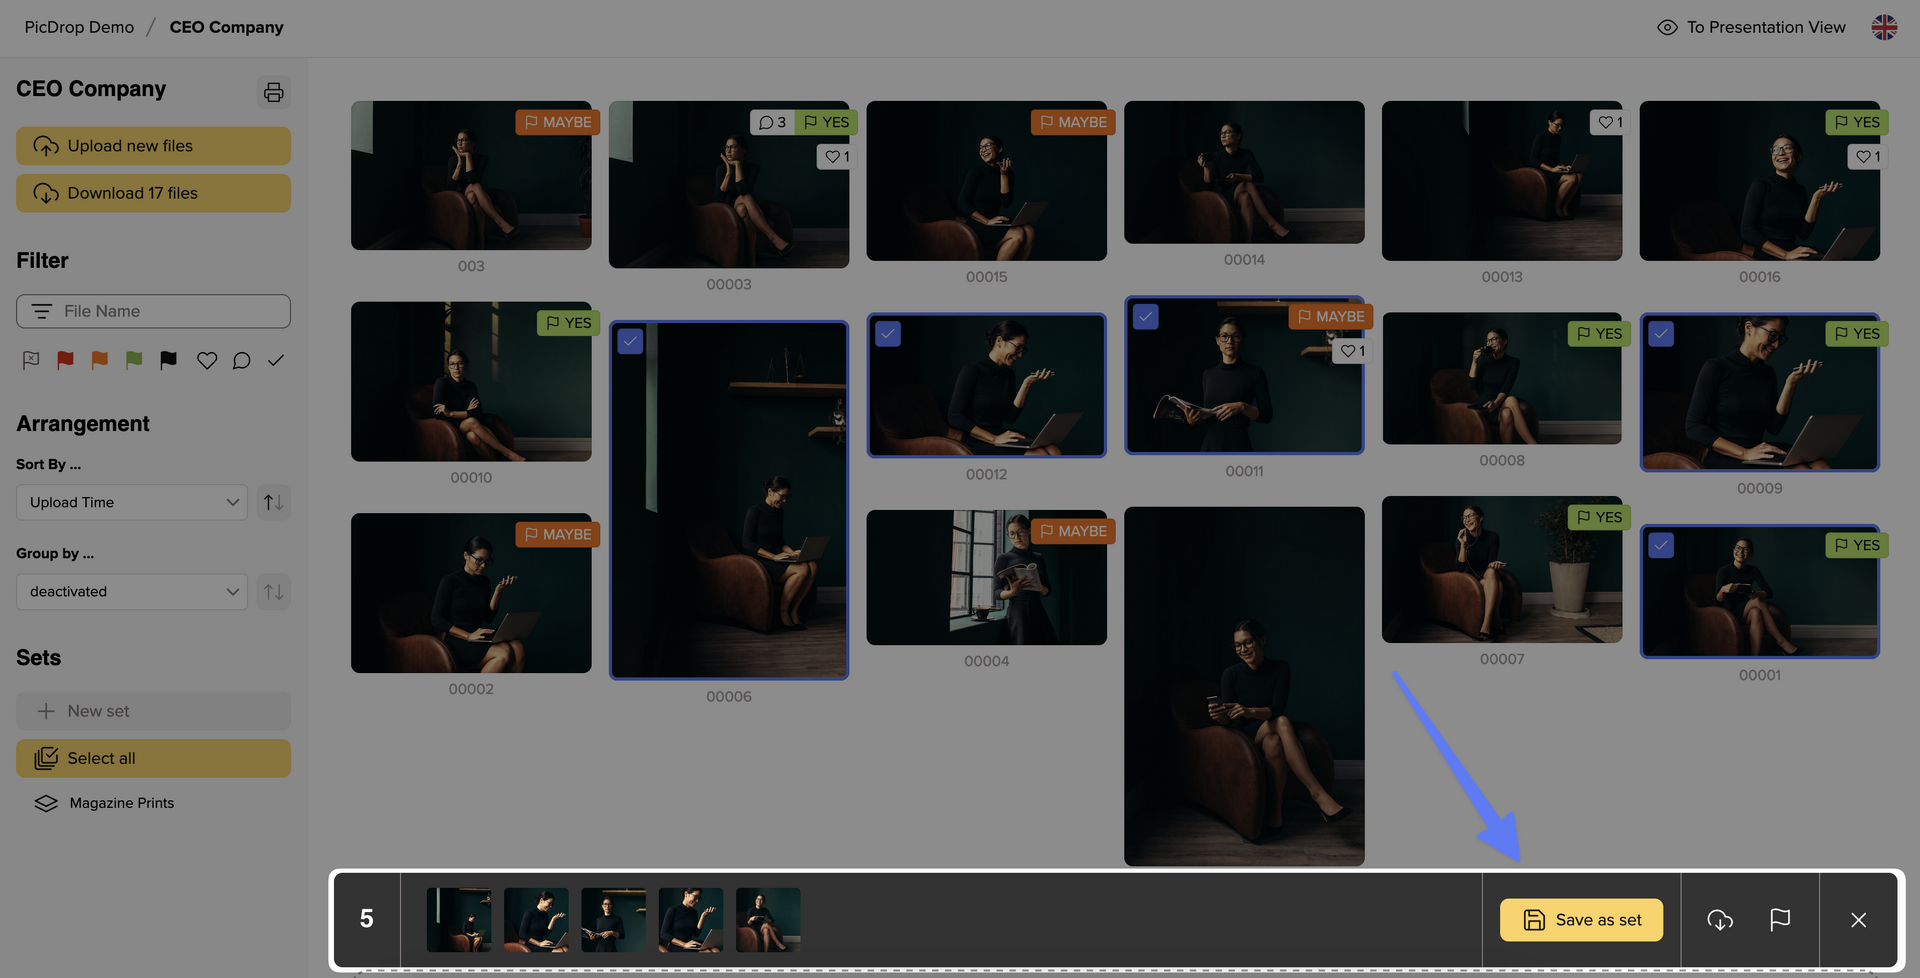
If you then close the single image view again and are back in the gallery, you will see your selected images in the bar at the bottom. There you will also find the information how many images are currently included in your set.
03 – Don’t forget to save your set
Once you have selected all your favorite images, it is essential to save them. To do so, click on “Save as set” at the bottom right, as shown in screenshot:
A pop-up menu will then open to save, name and send your set:
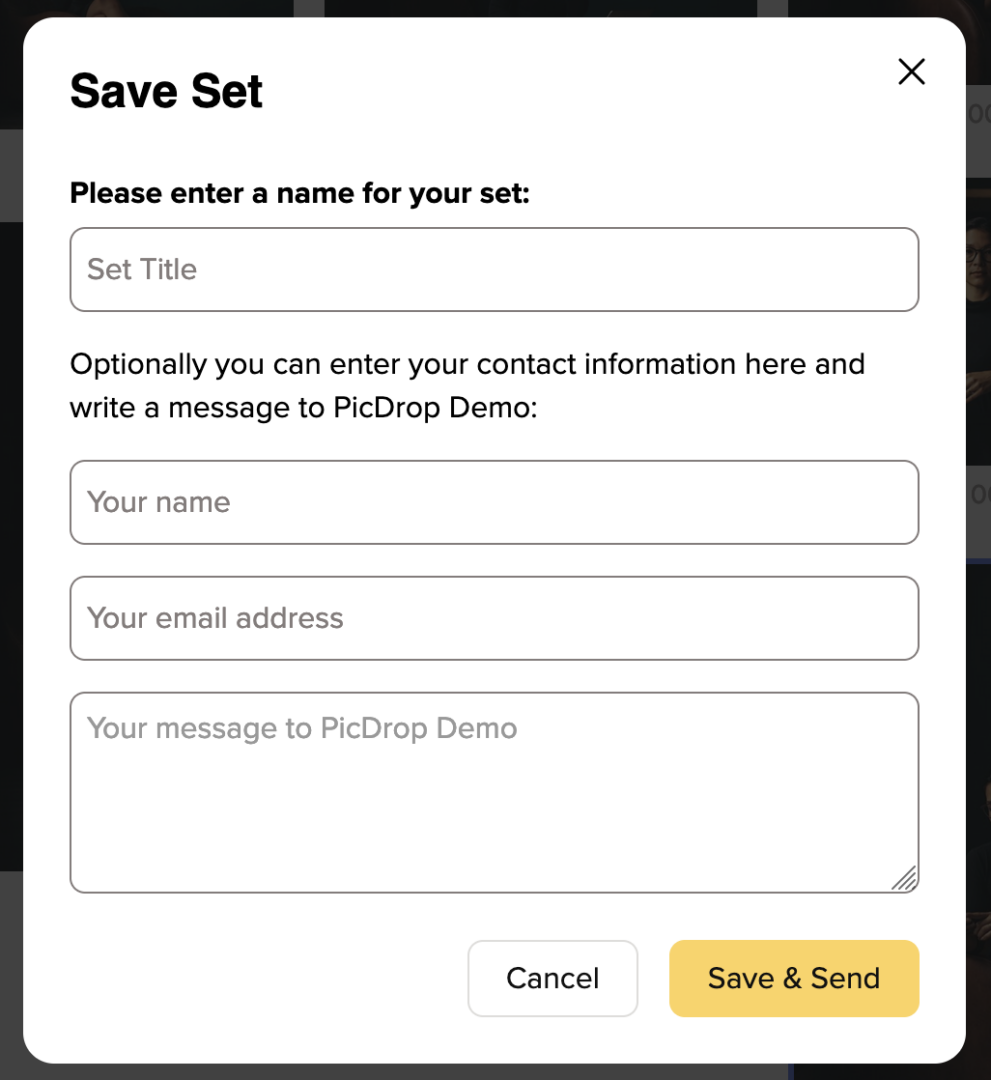
Now choose a unique title for the set. After saving, the title will be visible to all gallery visitors in the sidebar on the left.
Please also leave your name and e-mail address so that the set can be clearly assigned to you by your photographer. If you like, you can also send a message along with the set. Finally, click on “Save & Send”. We will then send your photographer a confirmation e-mail with all the information about the newly saved set.
Please note that you can also create multiple sets and that other gallery visitors may also do so.
04 – Display and correct sets
Once you have created your set, you will find it in the left sidebar of the gallery. Click on it to display the images you have selected.
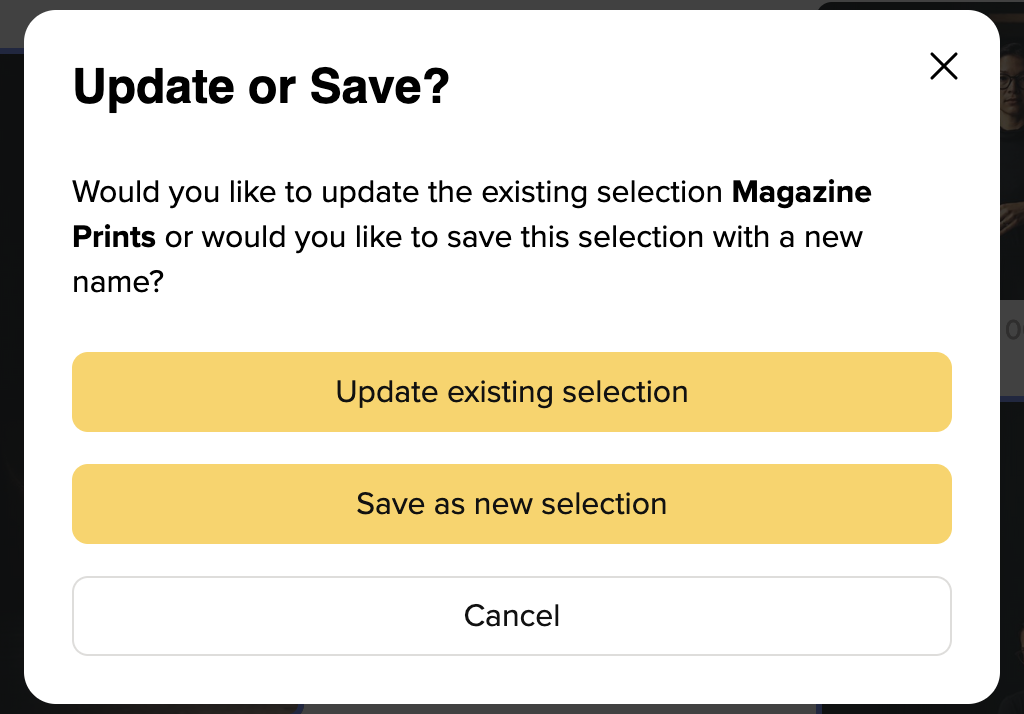
You can of course also make changes to your set later. To do so, add a new image to the set and then click on “Save as set” again. You will now be asked whether you want to update the existing set or save a new one.
We hope this guide has helped you finding your way around picdrop. If you have any questions, you can always contact your photographer or us at hello@picdrop.com